1
/
of
3
Headlight Restoration Kit
Headlight Restoration Kit
Regular price
$34.99 NZD
Regular price
Sale price
$34.99 NZD
Shipping calculated at checkout.
Quantity
Couldn't load pickup availability
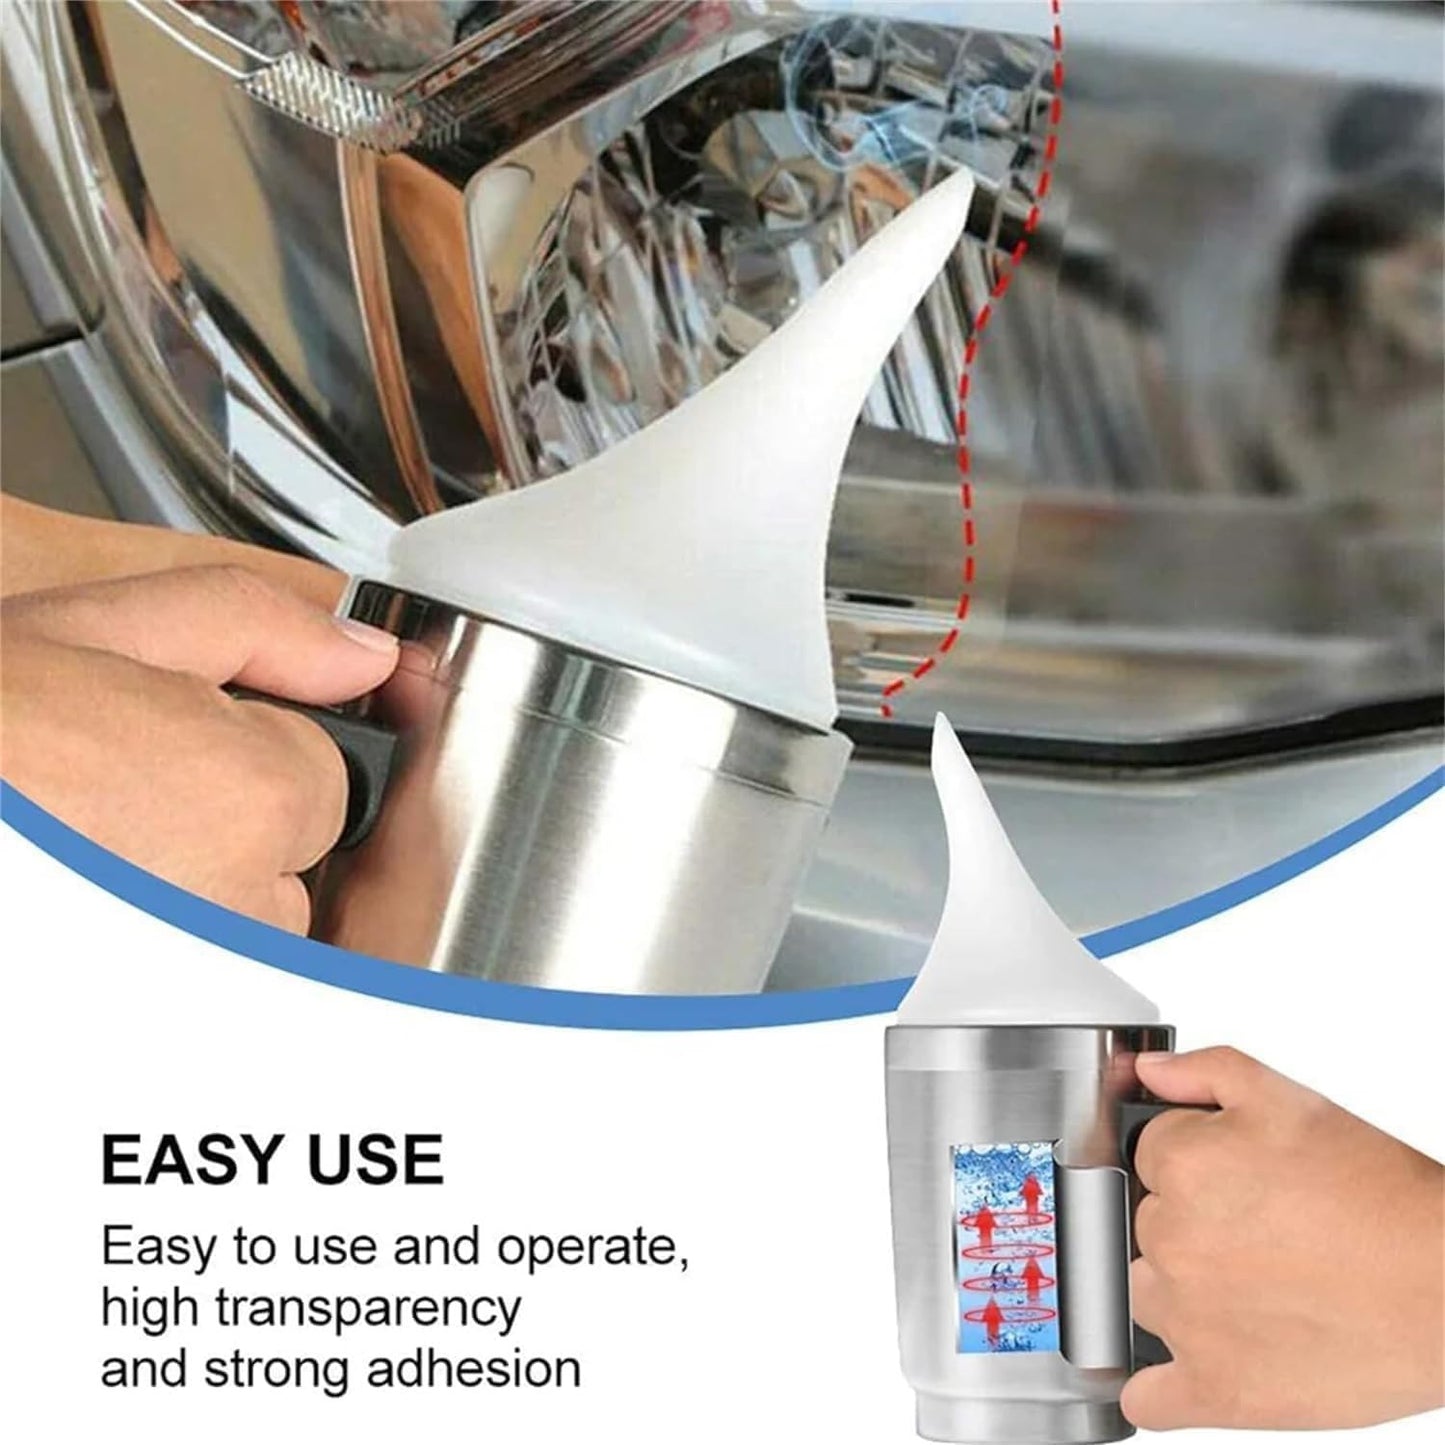
This Headlight Restoration Kit is ideal for anyone who wishes to restore clarity back to headlights that have become dull or yellowed over time. All components required to complete the restoration are provided with the kit to make things easy, all you need is water.
Features:
- Easy to Use - No need for professional help! Our DIY kit is designed for quick and effortless application.
- Highly Effective - Removes surface oxidation, yellowing, and haze, restoring your headlights to a crystal-clear finish.
- Complete Kit Included - Comes with everything you need: Solution Can, 12V Power cable, Restoration Solution, Sanding block, Sand paper and Masking Tape (water is required).
- Effective and long lasting - Enhances visibility and will last for years to come.
Instructions:
- Prepare a clean bucket or similar vessel with clean water. It is advised to wear gloves and goggles as the vapour can have a slight irritating effect.
- Wipe down the area around the headlight with a dry cloth (body paint) to prepare the surface for masking tape.
- Apply masking tape around the headlights to prevent paint scratches during sanding.
-
Dip the lowest grit sandpaper (lowest number value) in your vessel of clean water and begin sanding one headlight in circular motions, occasionally re-wetting and washing the headlight to remove the oxidised particles. This step should take 2 - 3 minutes depending on the level of oxidisation on the headlight.
- Move onto a finer grit and repeat step 4 until you are at the finest grit of sandpaper provided.
-
Using the finest grit sand paper, spend about 5 - 6 minutes sanding. Once completed, rinse the headlight clean.
- Repeat for other headlight.
- Allow the headlights to fully dry, either naturally or wipe with a microfibre cloth. Do not use anything that will break down upon contact with water.
-
Important - the following steps must be done only once the headlights are fully dry. If they are not dry, do not proceed.
- Open the bottle of solution and pour approximately 50 - 100ml of liquid into the aluminium cup provided. More liquid can be added at a later stage if required.
- Fit the rubber seal around the lid of the cup. Gently and firmly put the lid on the cup.
-
Plug the 12V power cable into the car and plug the other end into the bottom of the cup, below the handle.
- Be prepared to begin the coating process. Read the following steps prior to starting this process.
- Turn the car engine on and the cup should begin to warm up and vaporise the solution in approximately 30s - 1 minute.
- Important - Once the coating is applied on the headlight, DO NOT touch or allow any foreign matter to touch the coating for 15 minutes, otherwise a mark will be left.
- Start from the top of the headlight and angle the cup such that the vapour from the cup will attach onto the headlight. The outlet should be approximately 1cm away from the headlight. Slowly work your way down the headlight ensuring the entire headlight is coated. Carefully refill the cup with solution as required. Ideally the cup is unplugged when refilling.
- The headlight should turn from extremely hazy to fully transparent.
- Allow coating approximately 15 minutes to fully dry before moving.
- Once headlight is dry, remove masking tape and carefully pour any excess solution back into the bottle for reuse. Once dried, the headlights can be interacted with as per usual.
Share